
Lately, I’ve been having the dilemma of whether or not to add light flares in post-production to some of my shots. There’s certainly benefits to knowing when and why to add them.
Blissful Intensity
According to Shutterstock’s 2013 tutorial “Light Up Your Shots: Tips on Adding Flair with Flare“:
“When put to use for dramatic effect, however, lens flares can add a sense of blissful intensity or romance to otherwise standard shots.”
I have to agree with the above. When used in a controlled manner, if possible, it gives the image more energy, which also helps it stand out in thumbnails.
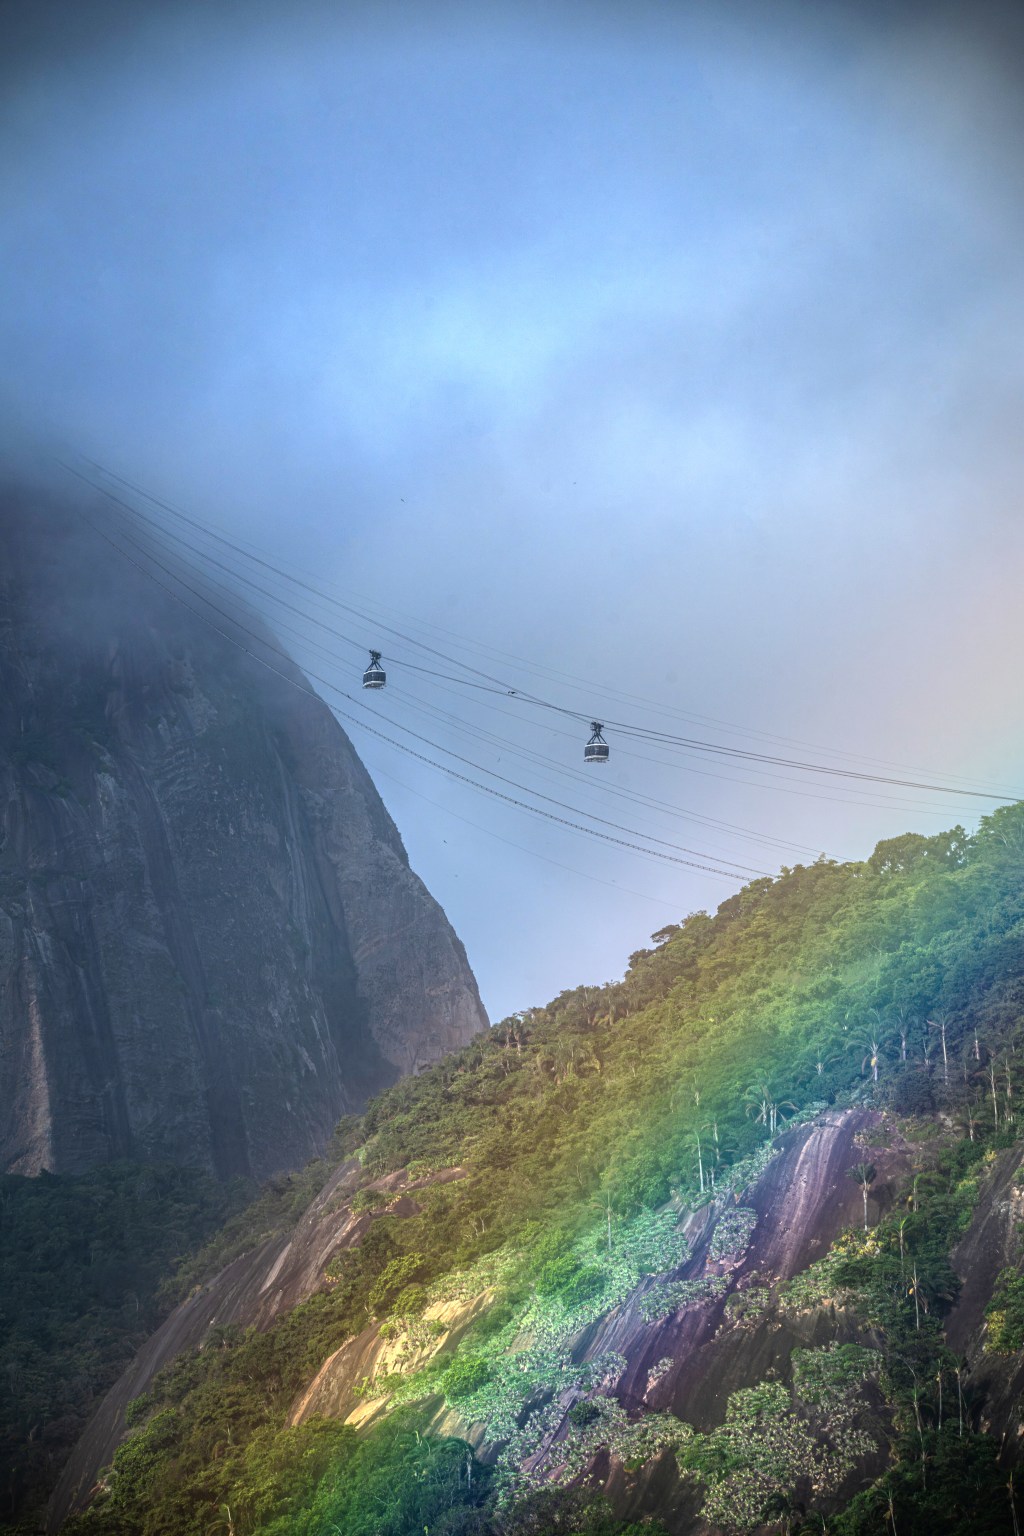
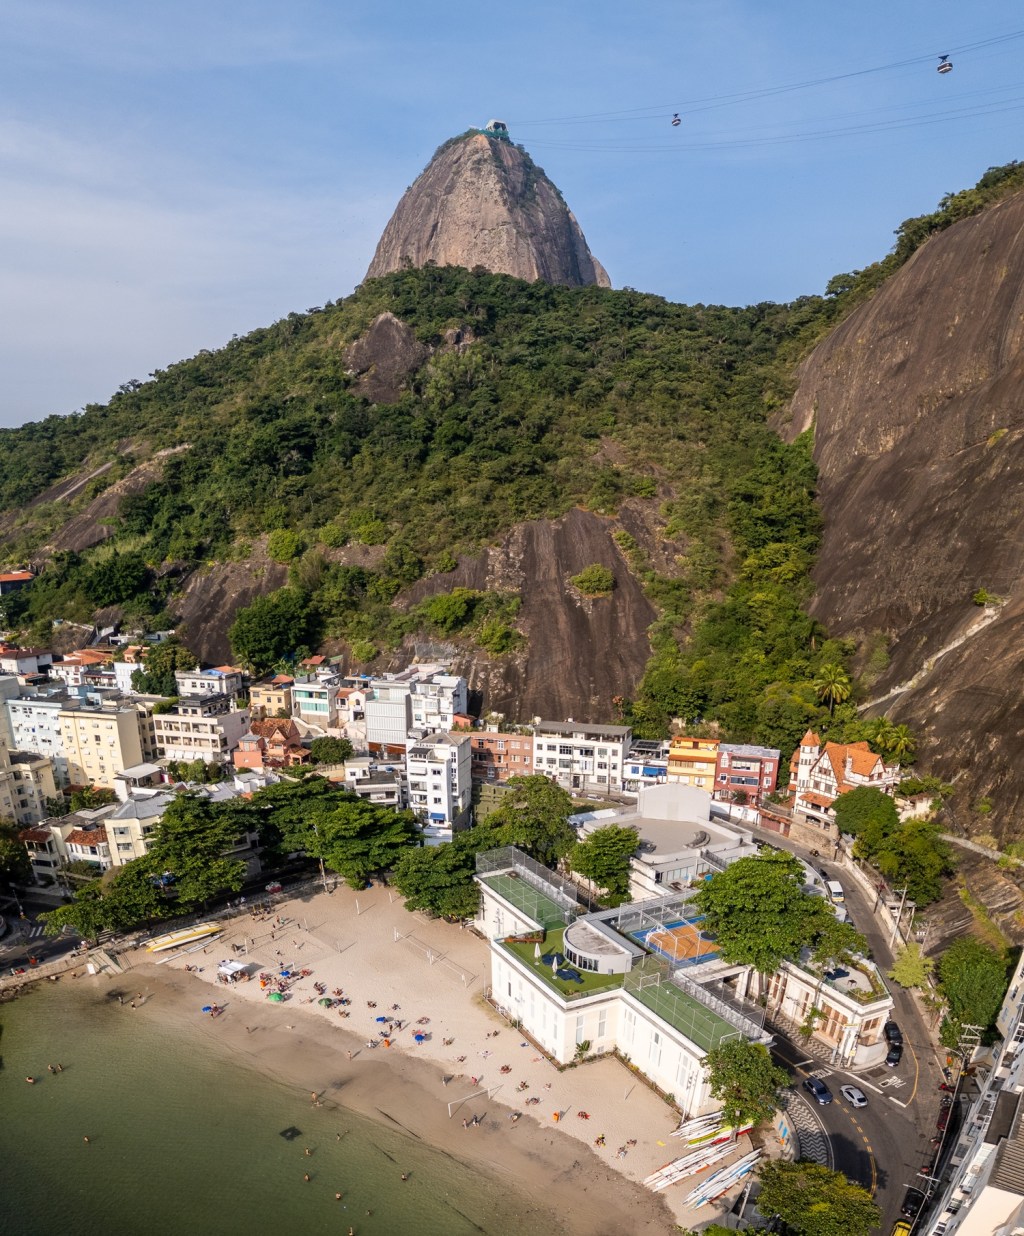
Here are two natural light flare examples from my own portfolio:


It can be particularly powerful when adding models, as captured in this editorial in front of the Ponte Vecchio, Florence:

Or creating powerful silhouette effects as in this case on Ipanema Beach, Rio de Janeiro:

But what I’m hoping to discuss here is about whether you should be adding it in post-production using Photoshop. It’s so easy, but should you do it? First, how to do it.
Adding Lens Flares using Photoshop
I won’t re-invent the wheel, so here’s an excellent & short tutorial on adding lens flare:
Should you add them?
Once upon a time, many agencies used to reject these types of images for “lighting”. Now that this type of rejection is almost nonexistent, it’s worth considering whether you should add this tool to your arsenal.
I think that unless you’re not able to get the effect naturally, certain scenes lend themselves to having lens flares added. Compare the identical image on left and on the right:


In the above case, I was already shooting against the sun, but it didn’t create the desired natural effect, so I managed to enhance it. I believe these work best since the effect is almost natural. Do you like it? Same concept in the next image:

Creating Lens Flare from nothing
These are the most tricky. According to my research and asking Nobel Winning physicists, in our solar system we only have one sun. Therefore, including multiple sun-light sources in one image just looks weird. As well as including this type of light source in hours of darkness.

So, consider roughly the direction the sun is coming from and insert your fake lens flare accordingly.

Breaking the rules
In this case, even though the light direction is completely off since it was right behind my back, I decided to do something different for this Venice pic to try to stand out. Venice is one of the most over-saturated stock travel photography places.

Same with this shot of the Millennium Bridge and Tate Modern in London. I opted for something unique in an otherwise very common shot.

However, if you’re submitting images as editorial, DO NOT include this type of lens flare as you may be significantly altering the facts in the image.
Using lens flare conceptually
In this case, this artist used the effect in a conceptual way. Everybody knows that it’s a fake light source added in post-production but it helps to illustrate that the businessman perhaps had a brilliant idea in that exactly moment, after buying some coffee.

Conclusion
Knowing when and why to add this type of effect may help to make a good image into an outstanding image. Keep in mind the following:
- Adding lens flare naturally;
- Enhancing shooting against the sun by reinforcing lens flares;
- Consider the natural light direction;
- Break the rules (but not for editorial images).
Hope you’ve found this tutorial fun/useful and please comment below! Until next time – Alex
About Alex
I’m an eccentric guy on a quest to visit all corners of the world and capture stock images. I’m determined not to waste my life away as a corporate drone and have devoted my five years to making it as a travel photographer and freelance writer. I hope to inspire others before it’s too late.
I’m proud to have written a book about my adventures which includes tips on making it as a stock travel photographer – Brutally Honest Guide to Microstock Photography


Leave a comment