I’m pleased to welcome Lara Garcia to Brutally Honest Blog as a guest-writer, where she’ll discuss her top ten tips for staying safe & taking great outdoor photos. Let’s get started!
Top 10 Tips For Staying Safe & Taking Great Outdoor Photos by Lara Garcia
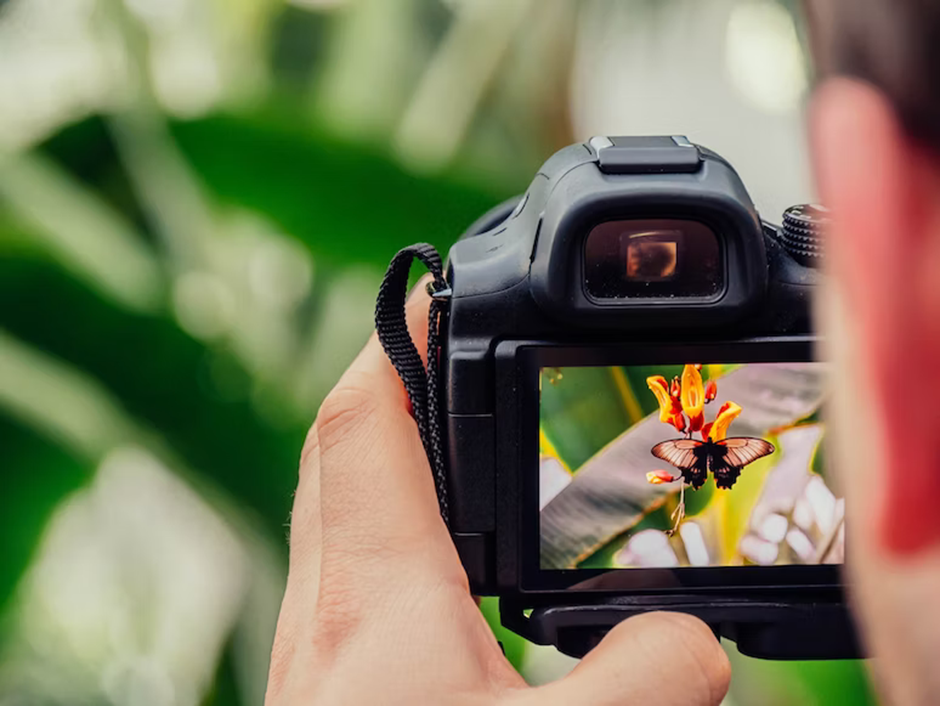
Torrential downpours, bright light, spiders, snakes, unpredictable terrain… The list of risks outdoor photographers face is long and treacherous. But it certainly shouldn’t be enough to put you off taking photos outdoors. After all, not only is there a market for stunning outdoor photographs licensed at multiple microstock agencies, but there’s also a huge satisfaction in capturing nature at its best.
But even I won’t deny that outdoor photography requires a careful, skilled approach to create images that truly stand out. There’s much more to taking striking outdoor photos than simply choosing the right composition and adjusting your exposure to the lighting at hand.
You’ll also need a keen understanding of timing, pre-shoot planning, light angles, weather conditions, and special events to capture shots that take your photographic abilities to a new level. Plus, you must prepare well for each shoot you embark on, and know your destination thoroughly if you want to take full advantage of the photographic opportunities it offers.
Ready to get snapping in the wild, the wilderness, or the wet? In this guide, I’ll explore the 10 essential tips you need to master outdoor photography safely and successfully. Let’s dive in!

1. Research Your Destination in Advance
I recommend researching your shoot destination and finding out as much about it as possible before you set off. There are plenty of ways to scout a spot to know what you’re in for, including using Google Maps to scout locations. Find out all about the type of terrain, whether there are dangerous snakes, spiders, or other wildlife around, the kinds of weather this destination experiences, and the sorts of landmarks and popular photo opportunities you’ll find there.
Doing your research ahead of time makes it easier to plan a shot list and ensures that you bring the right equipment for a safer, more comfortable shoot. From wet weather gear to the right footwear, knowing more about your destination upfront can help you to be prepared. I live by the Scout’s motto for a reason! I also recommend visiting popular photography destinations during off-peak seasons to ensure that you can capture them freely without battling the crowds.
2. Work with the Seasons
The Season you choose to shoot can make a huge difference to the quality and appearance of your photography. During different seasons, the angle of the sun will vary, and the amount of sunlight in certain areas of the world will be brighter. The higher angle of the sun in winter—or its lower angles in winter—can illuminate different parts of your subject while casting shadows and glare in various ways. It’s important to take the current season into consideration to ensure that you capture your subject in optimal lighting. Check your area’s sun exposure throughout the day to identify the best times to capture your subject.
Remember that nature’s colors and tones shift between seasons as well, giving you a versatile range of backdrops to work with. You can use the golden hues of fall, the rich greens of spring and summer, and the stark beauty of winter to your advantage to produce more engaging, eye-catching photos.
3. Plan for All Weather Conditions
Photo shoots in the great outdoors can leave you prone to unexpected weather events like storms, windy conditions, and rain showers. Prepare for all weather conditions before you head out to ensure that you and your camera equipment stay safe. Invest in waterproof bags for your camera and equipment, and take rain gear for yourself too. It’s important to take care of your needs while you are capturing subjects in nature. Many outdoor shoots take hours to complete, and you’ll need refreshments and a few extra items to keep you comfortable. Prepare for each shoot by packing snacks, fresh water, sunscreen, insect repellent spray, a hat, polarized sunglasses, a warm jacket and anything else you need for the day. You may also want to pack a flashlight or headlamp to help you capture subjects in more detail at night.
4. Have The Right Skills For An Emergency
Whether it’s a flat tire in the middle of nowhere or a nasty gash from slipping on a wet rock, you need to have the skills to handle an emergency when shooting outdoors. Make sure that getting stuck injured or lost isn’t going to put your life in danger by, yes… once again, being prepared.
Check your car before you set off and ensure your spare tire is pumped up, take a first aid course to learn the fundamentals, and always charge your mobile phone and program in local emergency numbers. Yes, the great outdoors is unpredictable, but if you’re even slightly skilled in important areas, you can stay safe while taking great shots.
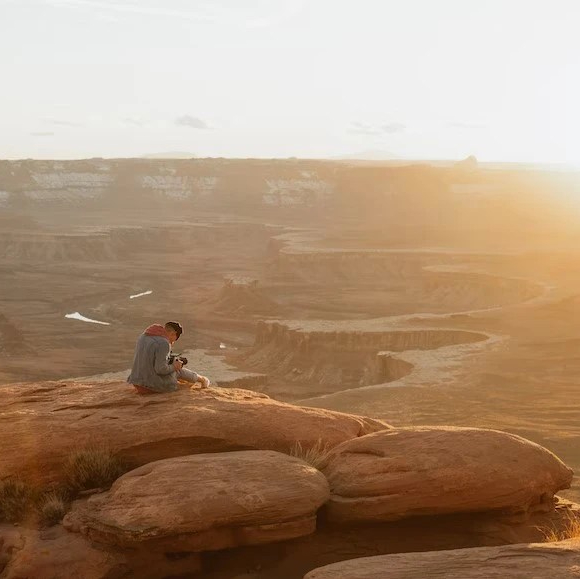
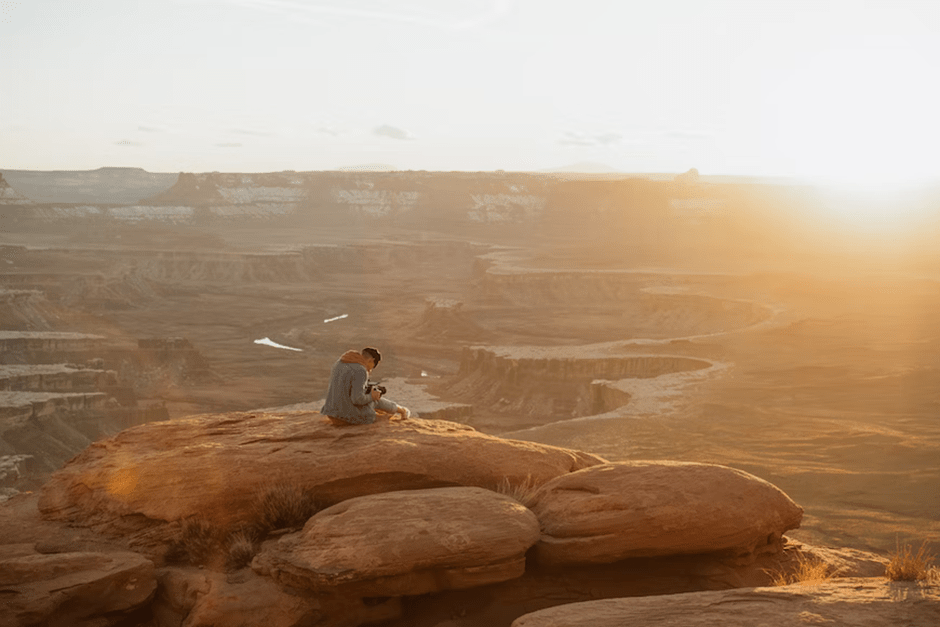
5. Choose an Optimal Time of Day
The midday sun can often be too harsh for most outdoor photography shoots. It casts dark shadows and it can leave animal and human subjects squinting in your pictures. Overcast days also leave digital images with washed-out tones and strong shadowing. The best times to take outdoor photographs are early morning and late in the afternoons and on clear days without too much atmospheric distortion or cloud cover. Aim to take your shots in the famous golden hour – around one hour before sunrise or just after sunset. This helps you to capture the richest colors possible. If you’re shooting in the direct sun, capture your subjects with the sun behind you for well-illuminated, saturated shots. While we’re on the topic of nature, I also recommend that you look for inspiration in the leading lines of plants, flowers, water bodies, mountains, landscapes and reflections while you’re preparing for your shoot. These leading lines can all add visual interest and harmony to your shots, as long as you capture them at the right angles.

6. Take Shots in RAW Format
When you capture photographs in RAW format, it becomes easier to edit them and create high- quality final results. The lighting in outdoor settings can be unpredictable and difficult to control. So, you may need to adjust the exposure and saturation in your shots to highlight your subject properly.
If your images are in RAW, you can edit them in Adobe Photoshop, Lightroom, and other platforms to perfect the white balance of each photo. Other photo formats may be more difficult to edit, as most editor tools only accept certain image formats; RAW is the most widely accepted format.
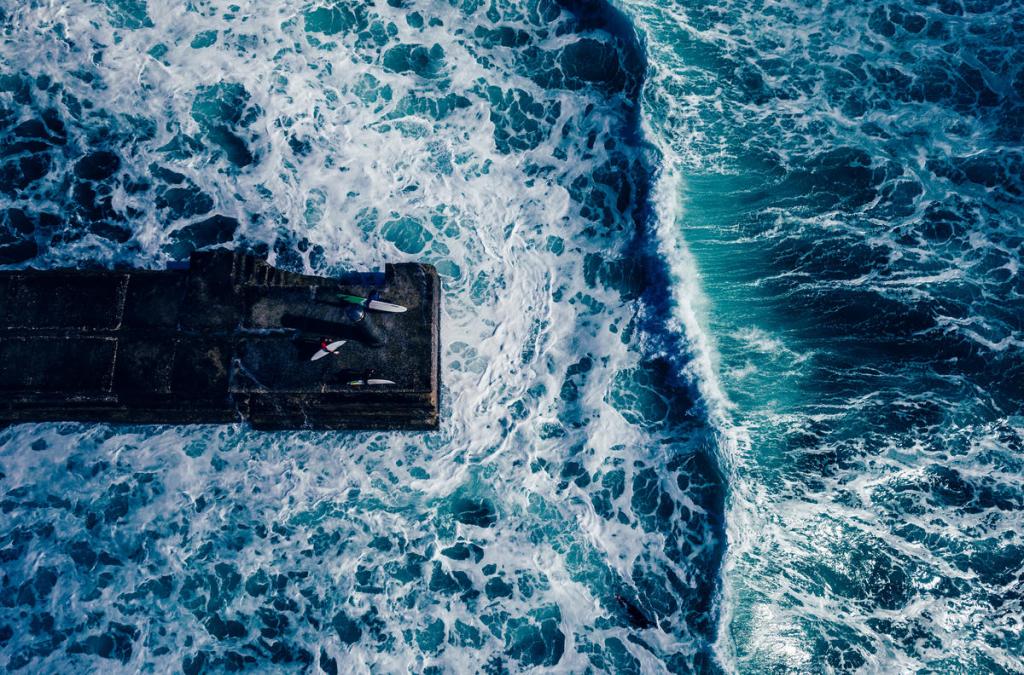
7. Adjust Your Shutter Speeds
If you’re trying to capture a moving subject, such as a rushing waterfall, bubbling stream, bank of clouds, or a flower swaying in windy conditions, slowing your shutter speed can help you to capture the motion. Alternatively, you can also use this to capture high-quality images which freeze the action during sports and outdoor activity events that involve plenty of spontaneous movement. If you need to photograph a subject using a slow shutter speed but don’t have a tripod, use the continuous shooting feature on your DSLR or mirrorless camera. Many cameras offer this feature, which helps to ensure that subjects remain in focus even when you’re using slow shutter speed settings.
8. Adjust Your Aperture
If you’re capturing a landscape with a high depth of field, you may need to adjust your lens aperture to produce high quality shots of your subject. Set your lens at a smaller f-stop, like f/16, for landscape shots. Should you find the shutter speed setting to be too slow for your preferences, you can adjust your ISO to achieve a similar effect. Or simply edit your image using a user-friendly digital photo editing tool later down the line.
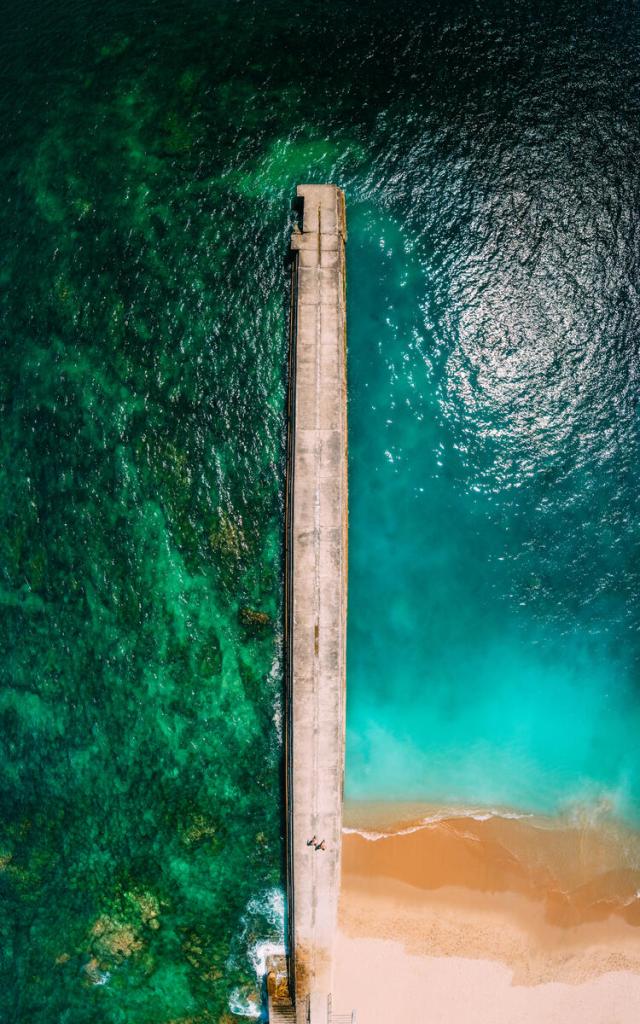
9. Use the Rule of Thirds
It’s back to school for this one. The rule of thirds helps you to create compositions that naturally appeal to the human eye. Extensive studies and expert brands have found that our focus gravitates towards the invisible lines that divide any image into three equal parts. And that placing your subject on one of these lines creates a more pleasing shot overall.
Using this rule will also add a higher depth of field to your images to help you optimize your use of perspective. Many image editing platforms include an image divider inspired by the rule of thirds to help you crop and align your image in line with this common theory. You can use the rule of thirds to optimize the placement of horizons in your photographs. Some photographers keep the horizon in the lower third of their images, especially if they wish to highlight the sky. But in most cases, horizons are best positioned in the top third of an image for a harmonious composition. Regardless of where you position the horizon in your shot, ensure that the horizon line is straight and level.
10. Use a Wide Angle Lens
Wide angle lenses are the best choice for creating detailed landscape images. These lenses emphasize the field of depth in a scene, leaving subjects in the foreground appearing larger and more noticeable to viewers. Additionally, wide angle lenses are ideal for capturing images with large foreground areas, like mountains, meadows, fields, or wide-flowing rivers.
Bonus Tip: Upload those images to microstock agencies
When you’re back in the comfort of your home, you’ll want to try to monetize your nature shots by submitting to various stock agencies. Two valuable pieces of software will help to optimize your time by keywording and then submitting to literally over a dozen microstock agencies. Check out Stocksubmitter and Xpiks.
Conclusion
Whether you’re shooting for fun or to add to your stock portfolio, I hope these 10 tips will help you to capture professional-looking outdoor photographs of any subject or landscape -without putting your safety at risk.
– Lara Garcia


Leave a comment