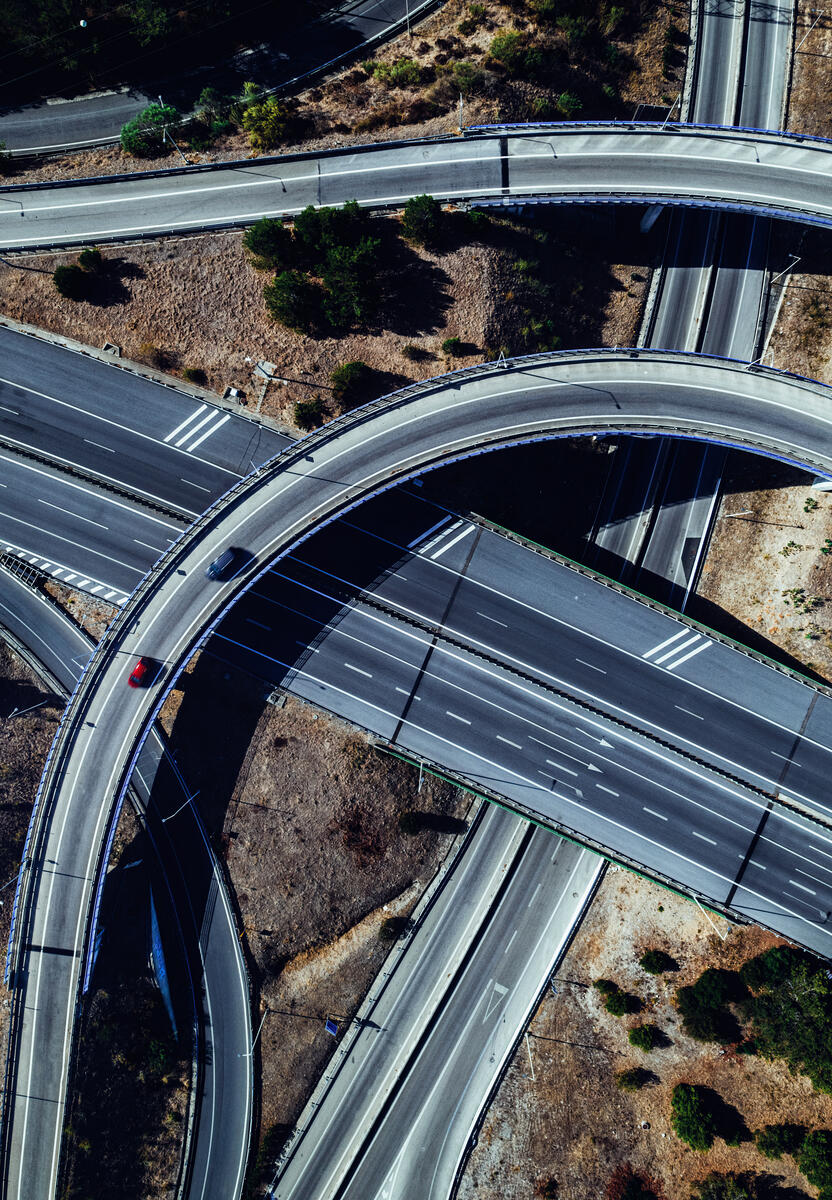
Yesterday I finally accomplished a shoot that I had been putting off for many months – to shoot with my drone a multiple highway junction. In this detailed blog post I’ll discuss my workflow from start to finish, including what I hoped to accomplish, what I accomplished and some forecasts on how much I may earn from the assets in the next two years. Let’s get started!

Scouting the Location on Google Maps
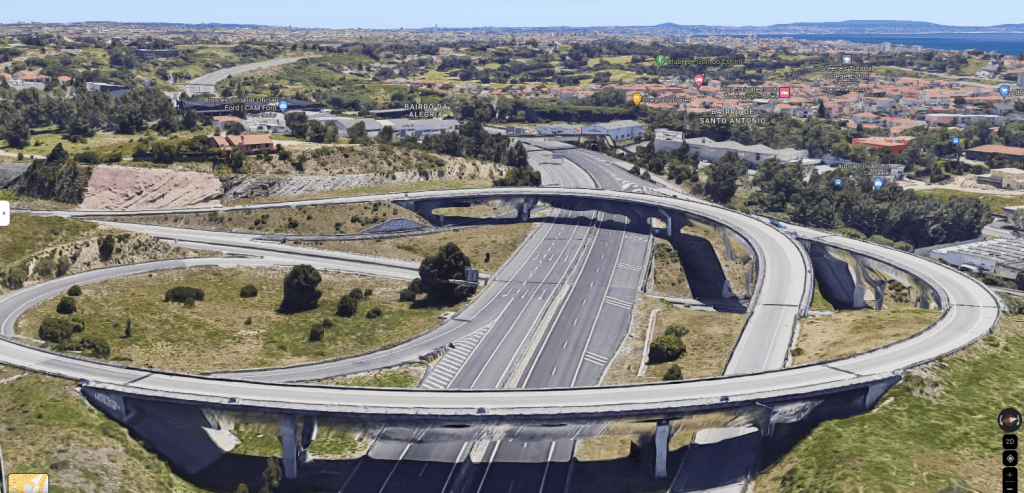
As always, before committing to a new place I’ll scout the location using Google Maps. I’ve written a blog post on the subject so won’t reinvent the wheel.
I created a folder and took some screenshots for some of the angles I was looking:
Requesting Authorization from the Aviation Authorities
Between you, me and the rest of the world I don’t always request authorization to fly (even though I should – this being a brutally honest blog and all). It’s just too damn bureaucratic and they request a 10-day advance notice. In addition, it’s difficult to predict in particular the weather in 10 days time.
However, for flights in more sensitive places I will always ask (just in case) and have asked already dozens of times. This spaghetti junction was next to a major hospital with a heliport and not far from a small airport with private planes. Plus I’d flying over hundreds of people, literally. Authorization was duly granted for a 3-day period so it’s good that I could choose the best time-day.
Arriving at the location
Batteries all charged and set to take off and I realise that I forgot to take my drone controller with me, oh no!
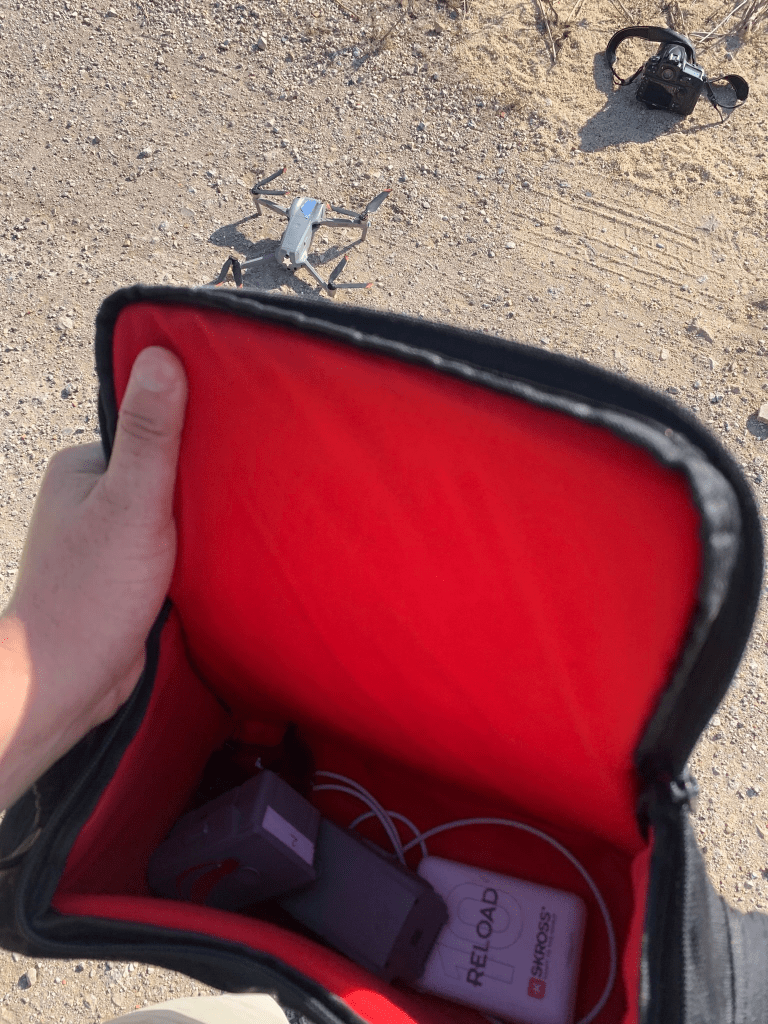
After I laughed it off, all was not lost as I took advantage to scout the location and take some book cover pics that I’ve uploaded to Arcangel. Really cool spot to return at night with the tripod and do some timelapses – for another post!
Arriving at Location Day2
On the next morning before heading out I triple checked everything and arrived around the same time.
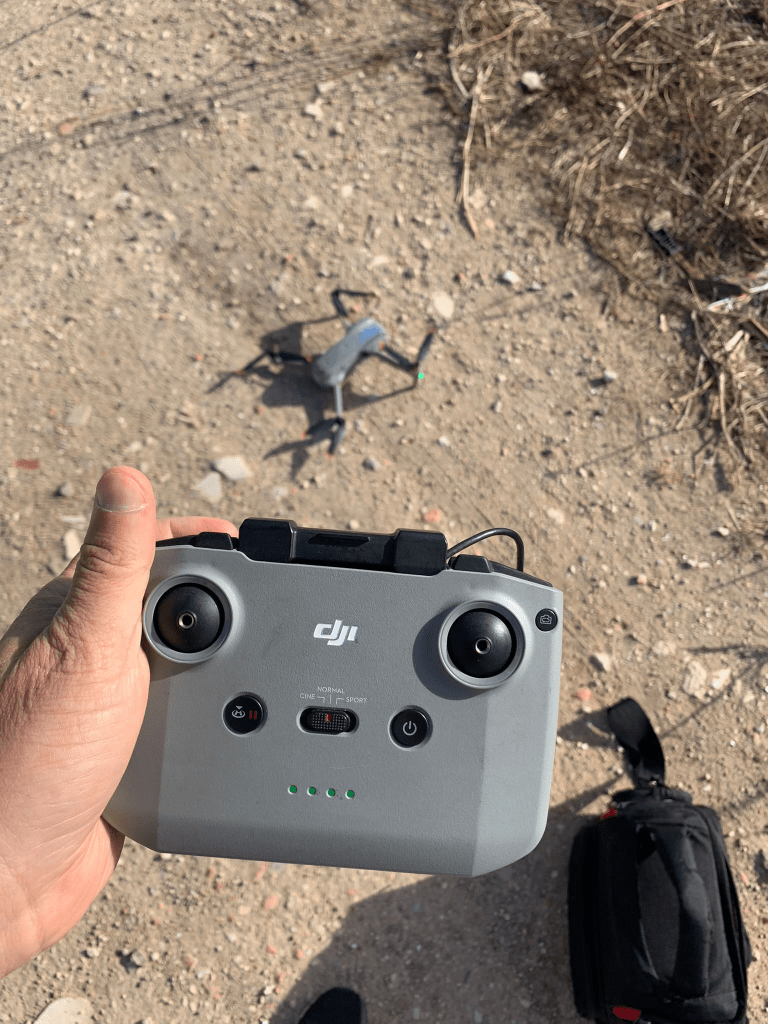
You may be wondering how many batteries I took with me…well, 3 and each lasts for about 20 minutes.
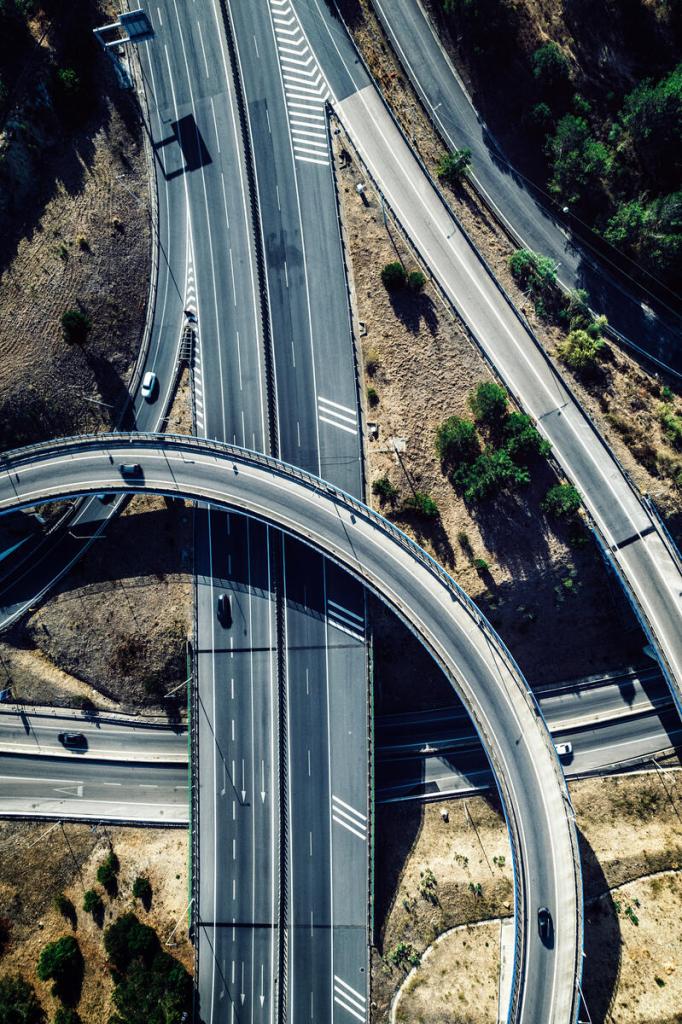
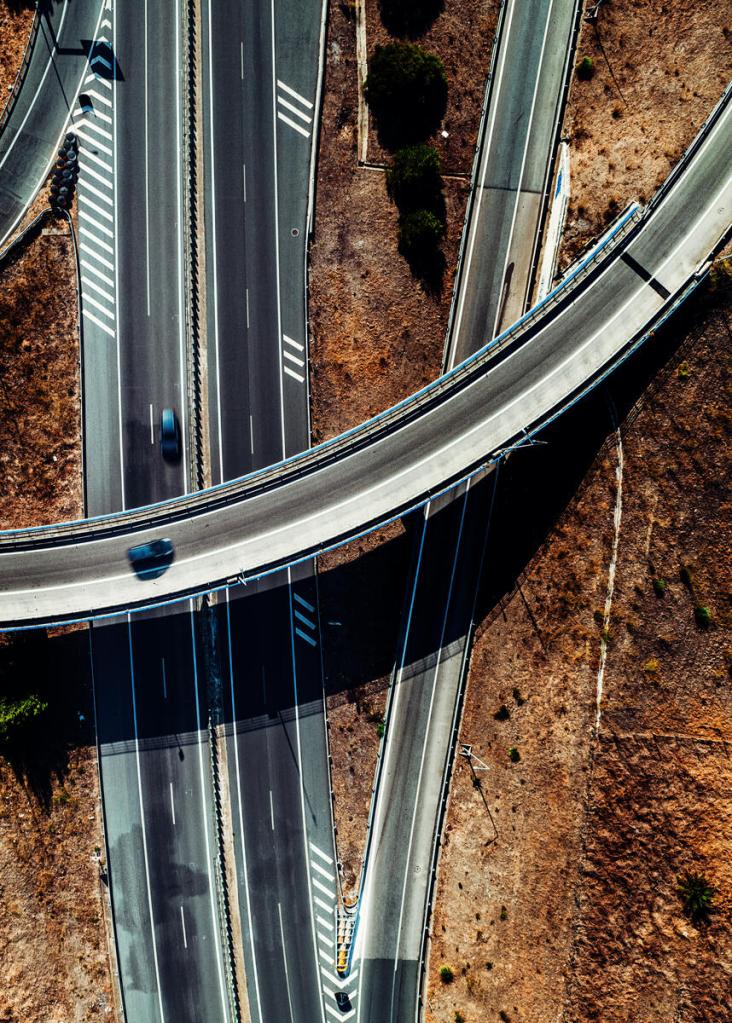
Firstly, capturing some clips
Right away, upon launching I went up to 100metres to capture some clips. Here are two of my favourite.
Hyperlapse
Technical settings for the hyperlapse:
- ND Filter: 64
- ISO: 100
- Exposure: 1/30 seconds
- 250 – 375 stills
- Distance covered: Aprox 500 metres
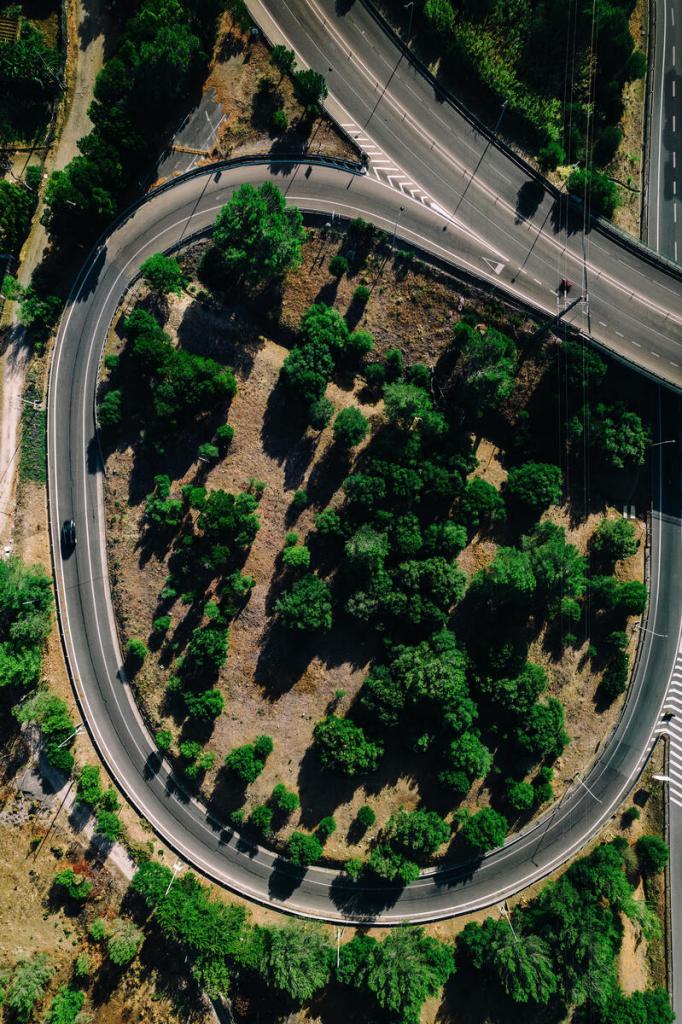
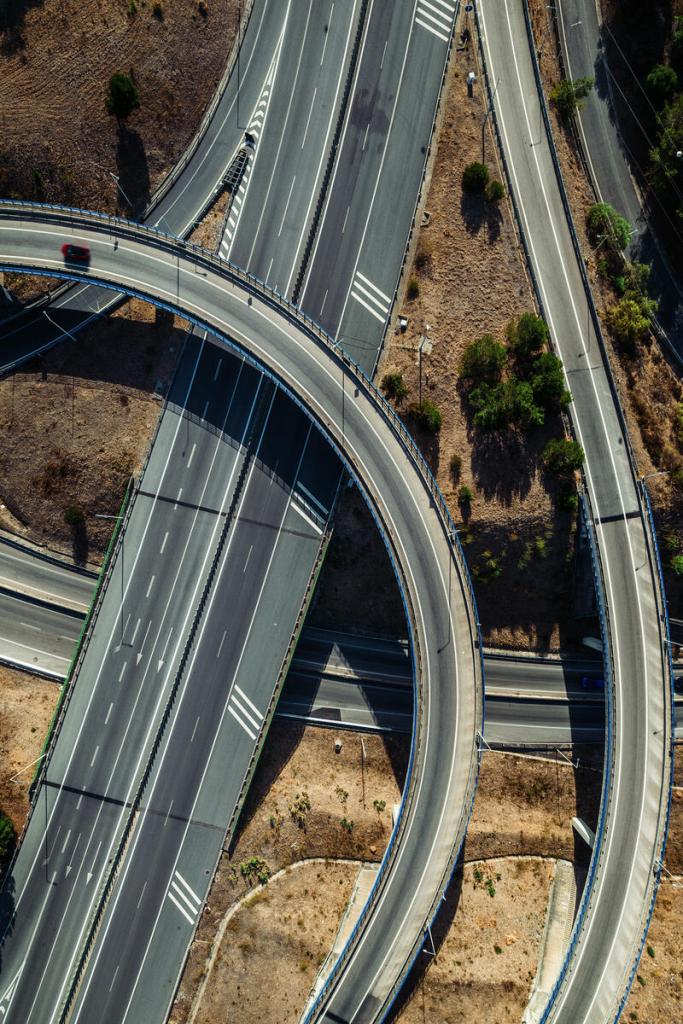
Capturing some stills
My drone captures some cool 180degree panos which can make for great wall-hangers:
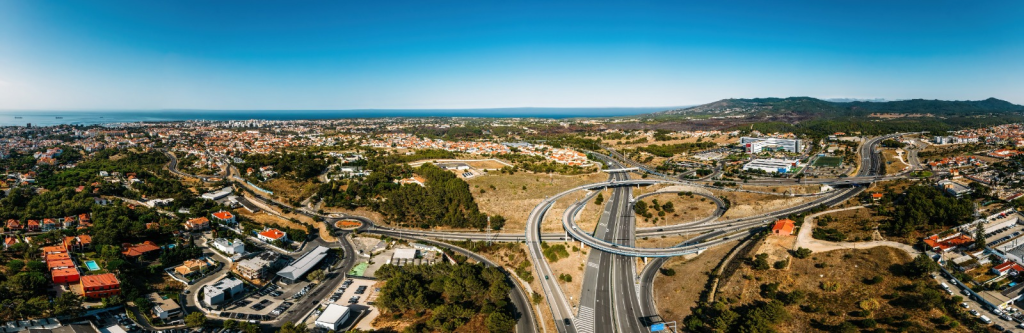
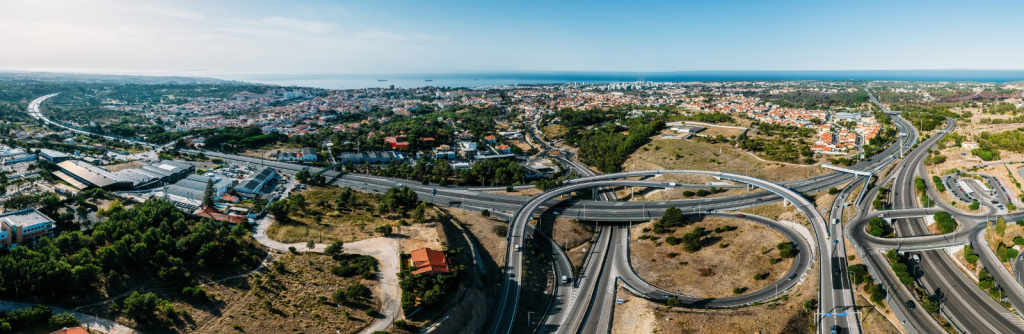
Normally I’d put these up on Robert Harding but after receiving a disastrous quarterly report (more on this next week when I publish my earnings), I’m putting these up on Alamy as Rights-Managed exclusive.
Capturing Book Covers
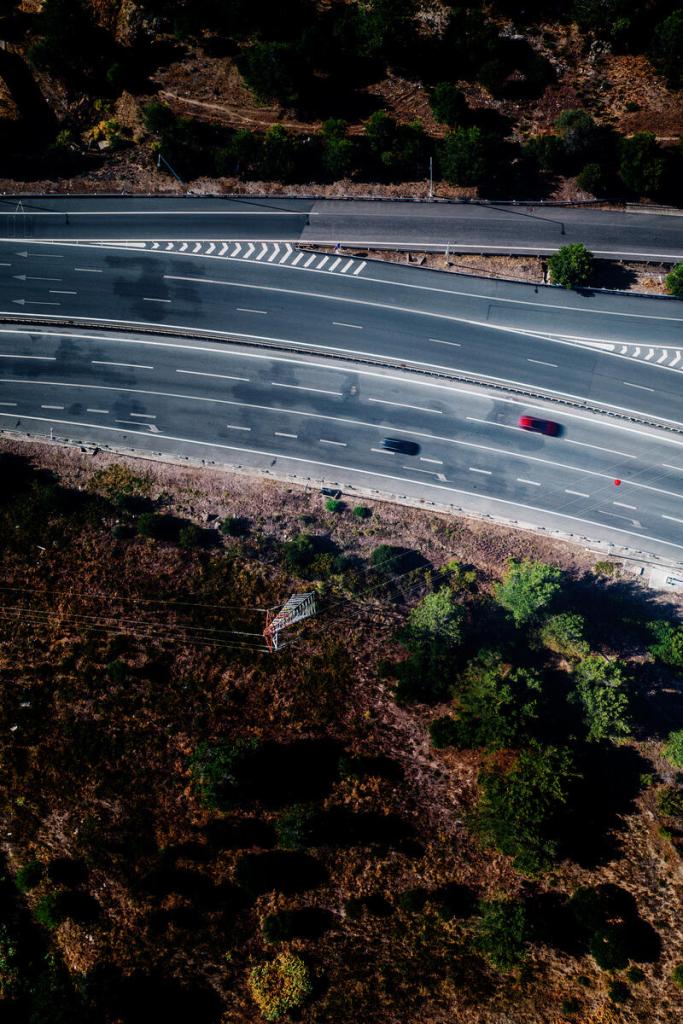
Now for the most interesting part of the report, capturing book covers!
So if you recall above I did a couple of hyperlapses, three in fact. Two of those have have 250 images and one has 375 images. That’s a whopping 875 images.
What I did was on Lightroom go through (quite quickly or else it would take way too long) and look for interesting stories and in particular red cars. Then I’d tag them to look into more detail later.
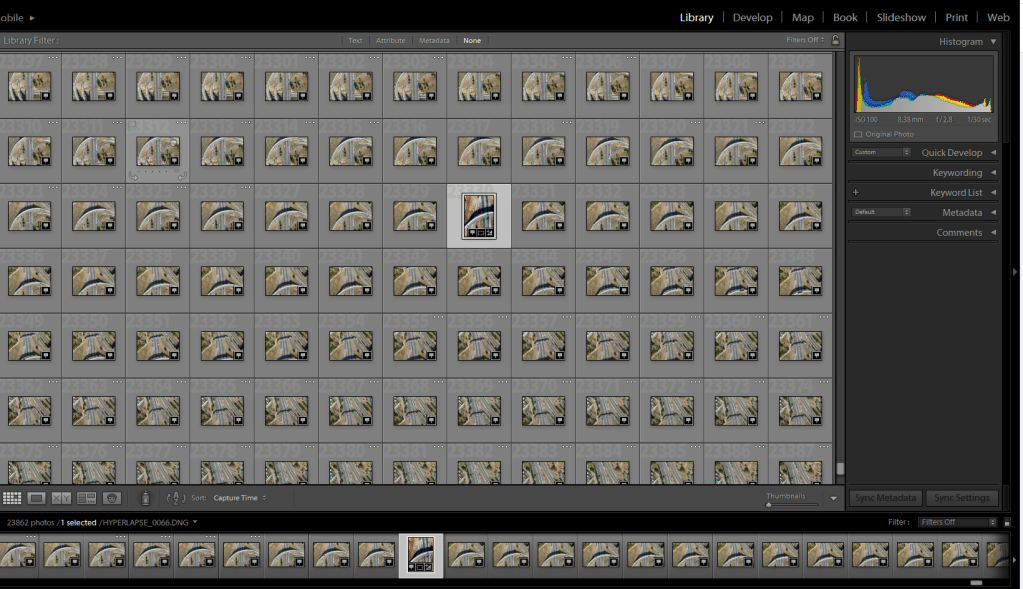
In total, I shortlisted about 10 from the hyperlapse list of 875 stills.
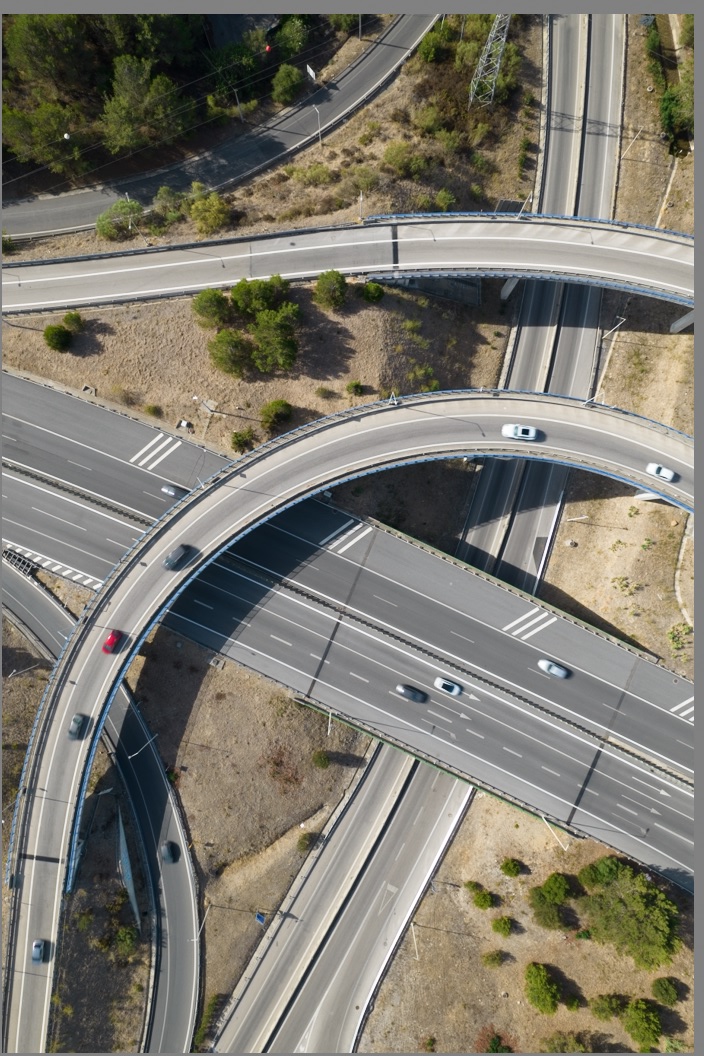
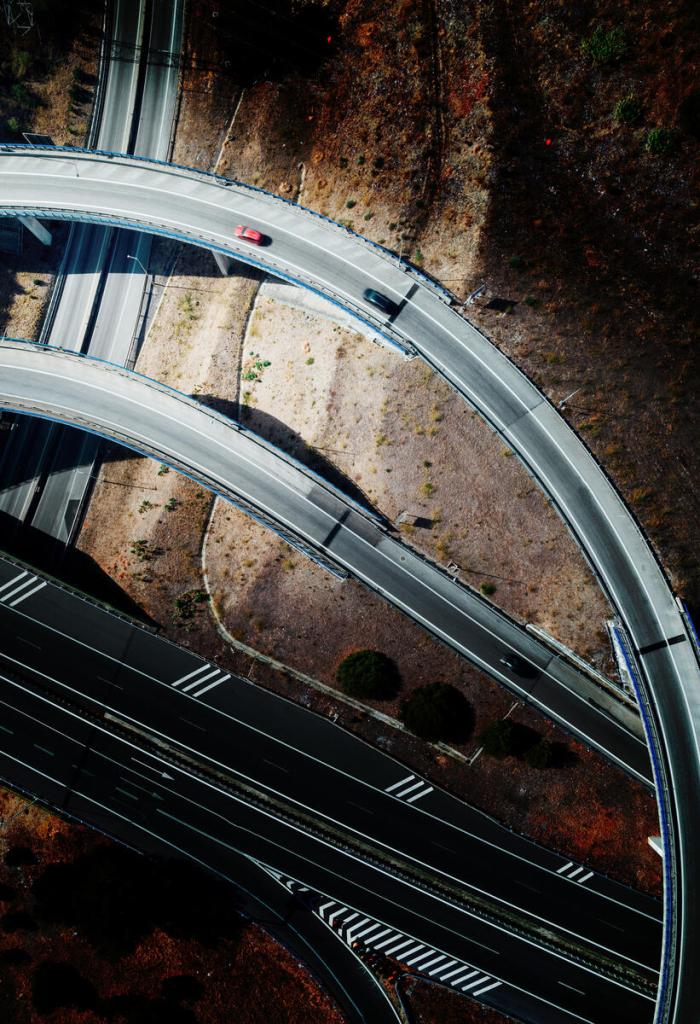
Example below – before and after
I’m always looking for stories and here’s one – two cars chasing/following that red car with a nice graphic composition + copy space, it works for a thriller!
I’ve included the final version after all the post-processing and adding Topaz to sharpen the image. In the end, I opted to keep just one car following and cloned out all other cars to simplify the composition.
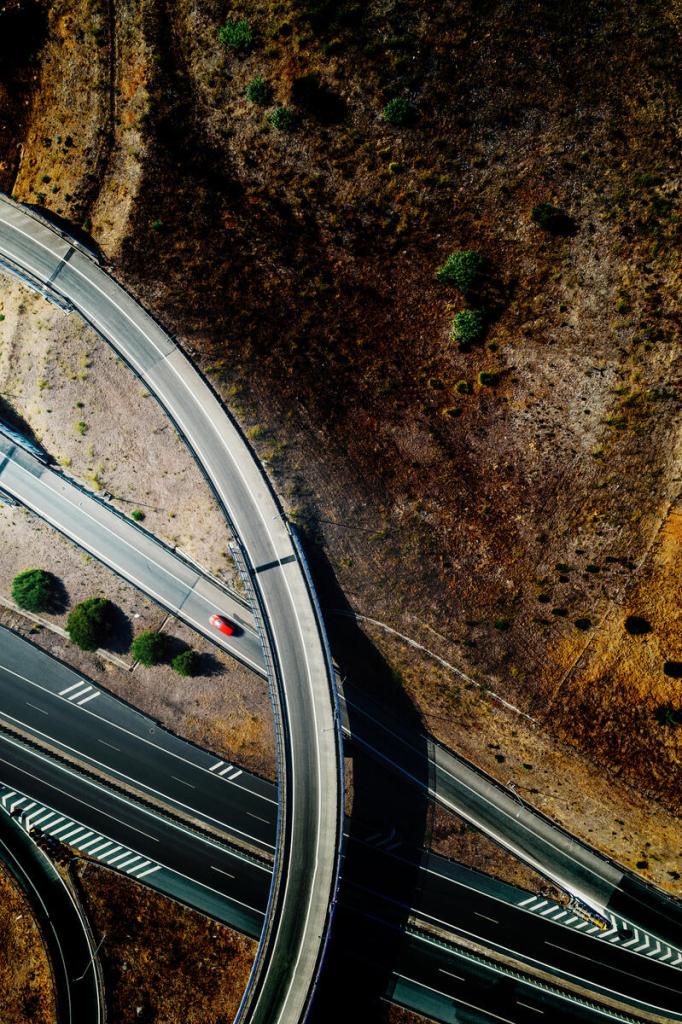
The remaining 8 potential book covers I’ve selected using a similar strategy of trying to find stories and simplifying the composition – these are the ones that I’ve uploaded and are currently under review:

Calculating my time and potential return on investment
This is something that I try to do all the time as I’m running a business here!
| Non-book cover images uploaded (including DSLR shots) | 5 |
| Videos uploaded | 15 |
| Book covers uploaded | 14 |
| Time invested at location | 1:30 |
| Time invested post-processing + keywording + uploading | 6:30 |
| Total Hours | 8:00 |
How much will I likely earn?
So, I’ve put in a full days ‘work for this shoot and post-processing. It’s obviously very difficult to predict how well the above batch will do. I’ll try to make a “reasonable case” that after two years I’ll earn the following from the batches:
| Non-book cover images | $50 |
| Videos | $250 |
| Book covers | $800 |
| Total | net $1,100 |
Does this seem reasonable? I think so but I may be a tad too optimistic. Anyway, I’ll make a note to return to this post in two years’ time to see just how well this batch has done…that is if we haven’t managed to blow ourselves up and/or radiate the planet beyond recognition.
On that happy note, I will leave you…hope you’ve enjoyed this post and I’ll be back in a week with monthly earnings report!
About Alex
I’m an eccentric guy, currently based in Lisbon, Portugal, on a quest to visit all corners of the world and capture stock images & footage. I’ve devoted eight years to making it as a travel photographer / videographer and freelance writer. I hope to inspire others by showing an unique insight into a fascinating business model.
Most recently I’ve gone all in on submitting book cover images to Arcangel Images. Oh and also recently purchased a DJI Mavic 2s drone and taking full advantage and perhaps an Air 3 soon.
I’m proud to have written a book about my adventures which includes tips on making it as a stock travel photographer – Brutally Honest Guide to Microstock Photography

I am surprised how nicely those freeway shots look in pano format. Really well done.
LikeLike